Unlike modern Plug-and-Play cameras, the AV732E uses an older chipset (often based on the Sunplus or Hisilicon architecture). Without the specific setup executable, you face two major hurdles:
The setup exe requires Visual C++ Redistributables. Download the "All-in-one" VC Redist pack from Microsoft.
You found a file, you ran it, but no video appears. Here is the fix.
Because this is legacy software, Windows Defender or SmartScreen may block it.
Do not download the EXE from random "driver websites" that bundle adware. The best source is usually the archived CD image from the manufacturer or a verified technical repository.
Even with the best EXE, users encounter errors. Here is how to solve them.
The Video Web Server AV732E Setup EXE remains a piece of indispensable software for security professionals managing legacy hardware. The best version to use is v3.0.1.2, installed with Administrator privileges on a machine running IE Mode.
While the setup process is more complex than modern plug-and-play cameras, the stability and latency of the AV732E hardware are unmatched. By following the steps above—disabling security blocks temporarily, installing legacy C++ runtimes, and using a static IP—you can resurrect your analog cameras into high-functioning web servers.
Final Checklist for Success:
If you answer "yes" to all four, your setup will work flawlessly. Keep the Video Web Server AV732E Setup EXE backed up on a network drive, as finding the "best" version online gets harder every year.
The AV732E Video Web Server allows for the network broadcasting of BNC-input analog devices via a dedicated Windows application, typically accessed through the device's default IP address. Installation requires setting a static IP, connecting the unit via CAT5 cable, and running the "Video web server.exe" application, which often requires administrative permissions to function correctly. For detailed installation instructions, see the manual at
(specifically the ) is a legacy video web server and DVR manufactured by video web server av732e setup exe best
. To set up and access the device, you primarily use its web interface or the proprietary "AP" software contained in the Software Setup and Access
You can access the video web server through two main methods: Web Browser Interface : Access the device by typing its local IP address (e.g.,
To set up the AV732E Video Web Server (often associated with AVTECH), you must establish a direct connection between your PC and the hardware to configure its initial IP settings. Once configured, you can download and install the client software (setup.exe) directly from the device's web interface. 1. Initial Hardware Connection
Direct Connect: Use a standard CAT5 Ethernet cable to connect the Video Web Server’s LAN port to your PC.
Power Up: Plug in the power adapter and wait approximately 15 seconds for the server to initialize.
Input Sources: Connect your BNC video sources (e.g., CCTV cameras) to the server's inputs. 2. Network Configuration (PC Side)
To access the server for the first time, your computer must be in the same network domain as the device's default IP.
Default IP: The server typically defaults to 192.168.1.1 or 192.168.1.10.
Configure PC: Set your computer’s static IP to something in the same range, such as 192.168.1.100, with a subnet mask of 255.255.255.0. 3. Software Installation (setup.exe)
Access Web Interface: Open a web browser and type the default IP (e.g., http://192.168.1.1) into the address bar.
Download Application: On the login or home page, look for a button labeled "Download AP" or "Download Windows AP". Unlike modern Plug-and-Play cameras, the AV732E uses an
Run Setup: Save the Video web server.exe (or setup.exe) to your hard drive. Double-click the file to begin the installation.
Login: Use the default credentials (usually admin for both username and password) to log in to the newly installed software. 4. Advanced Settings
Static IP: After the first login, navigate to System Config > Network Setting to assign the server a permanent static IP suitable for your local network.
Remote Access (DDNS): If you need to view the video from outside your local network, enable Dynamic DNS (DDNS) and configure port forwarding on your router (typically ports 80 and 8888).
Video Quality: You can adjust resolution (CIF/VGA) and frame rates (up to 15fps for NTSC or 12.5fps for PAL) within the software's operation interface. WhatWeb: plugins/avtech-video-web-server.rb - Fossies
To set up your AVTECH AV732E Video Web Server, you will need to establish a physical connection and configure the network settings to access the video stream through a browser or management software. 1. Hardware Setup
Connect Video Source: Use a standard video cable to connect your camera's video output to the Video Input on the AV732E.
Network Connection: Connect the AV732E to your PC or router using a standard CAT5 Ethernet cable.
Power On: Plug in the supplied power adapter. Wait approximately 15 seconds for the server to initialize. 2. Software & Initial Login
Setup Utility: Use the AVTECH IPScan utility (often included on the software disc as setup.exe) to locate the device's current IP address on your network.
Default IP: If the utility is unavailable, the device may default to 192.168.0.10. Access via Browser: If you answer "yes" to all four, your
Open a web browser and type the server's IP address into the address bar. Enter the default credentials: Username: admin Password: admin 3. Network Configuration
Once logged into the web interface, you should finalize the following settings for reliable access:
Static IP: Change the network setting from DHCP to a Static IP address to prevent the address from changing after a restart.
Port Forwarding: If you need to view the video from outside your local network, you must configure Port Forwarding on your router to the IP address of the AV732E.
DDNS: Setting up DDNS is recommended if your home internet has a dynamic external IP address. Resources
User Manual: A full AV732E User Manual is available for detailed menu navigation.
Quick Start: Refer to the Quick Start Guide for basic cabling diagrams.
Searching for setup.exe files for niche hardware is like asking for directions in a city that no longer exists on the map.
Most of the top results were sketchy "driver download" websites that looked like they were designed in 1998 and haven't been updated since. You know the ones: bright green download buttons, five different "Click here" ads, and a URL that promises the world but delivers a toolbar installer.
The "AV732E" isn't a household name like Nest or Ring. It’s a workhorse—likely a single-channel video encoder designed to turn an old analog CCTV camera into an IP stream. Finding the best setup.exe wasn't just about functionality; it was about survival.
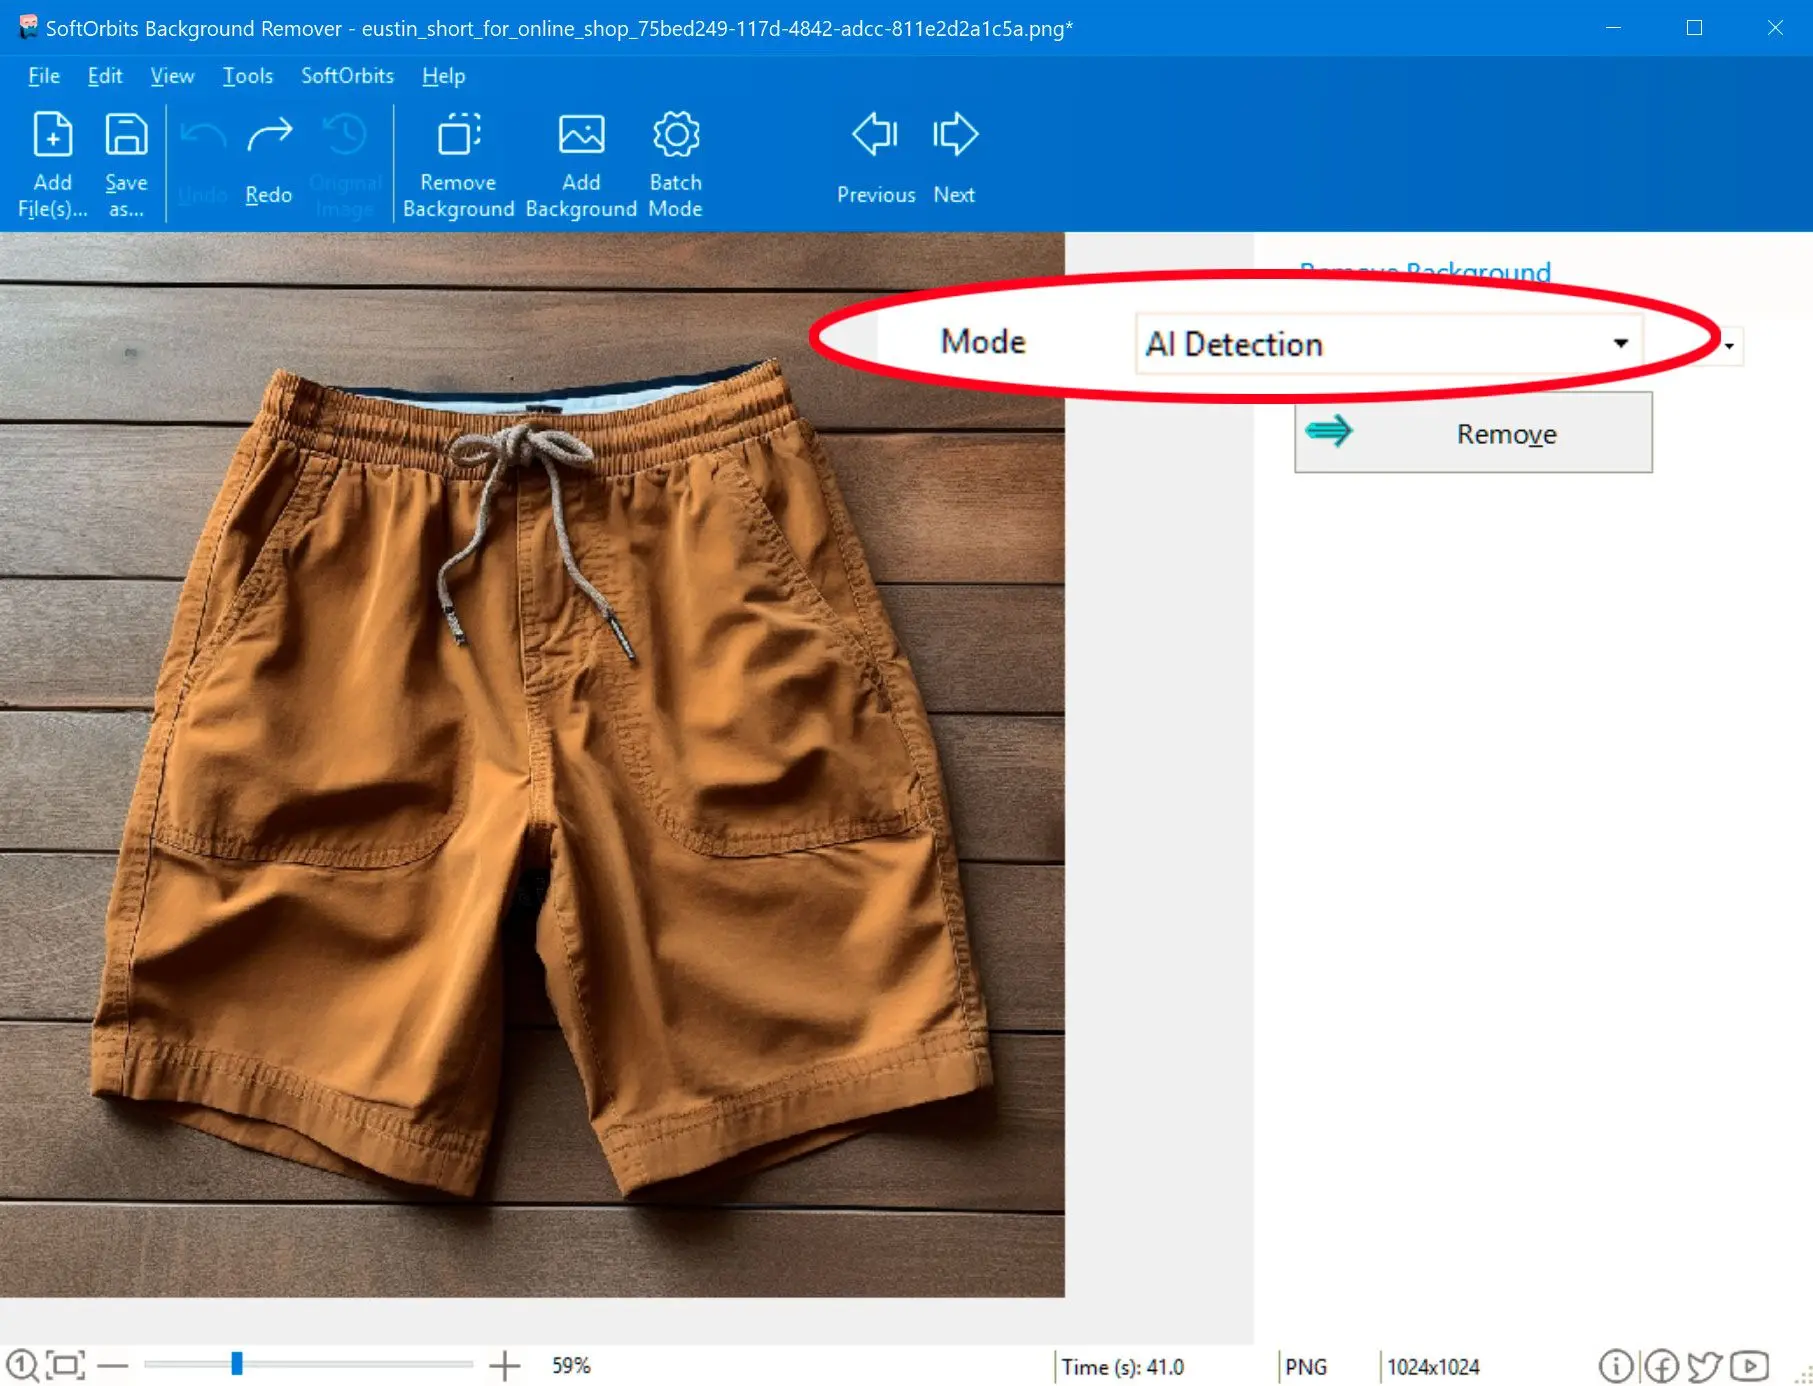
 Photo Background Remover
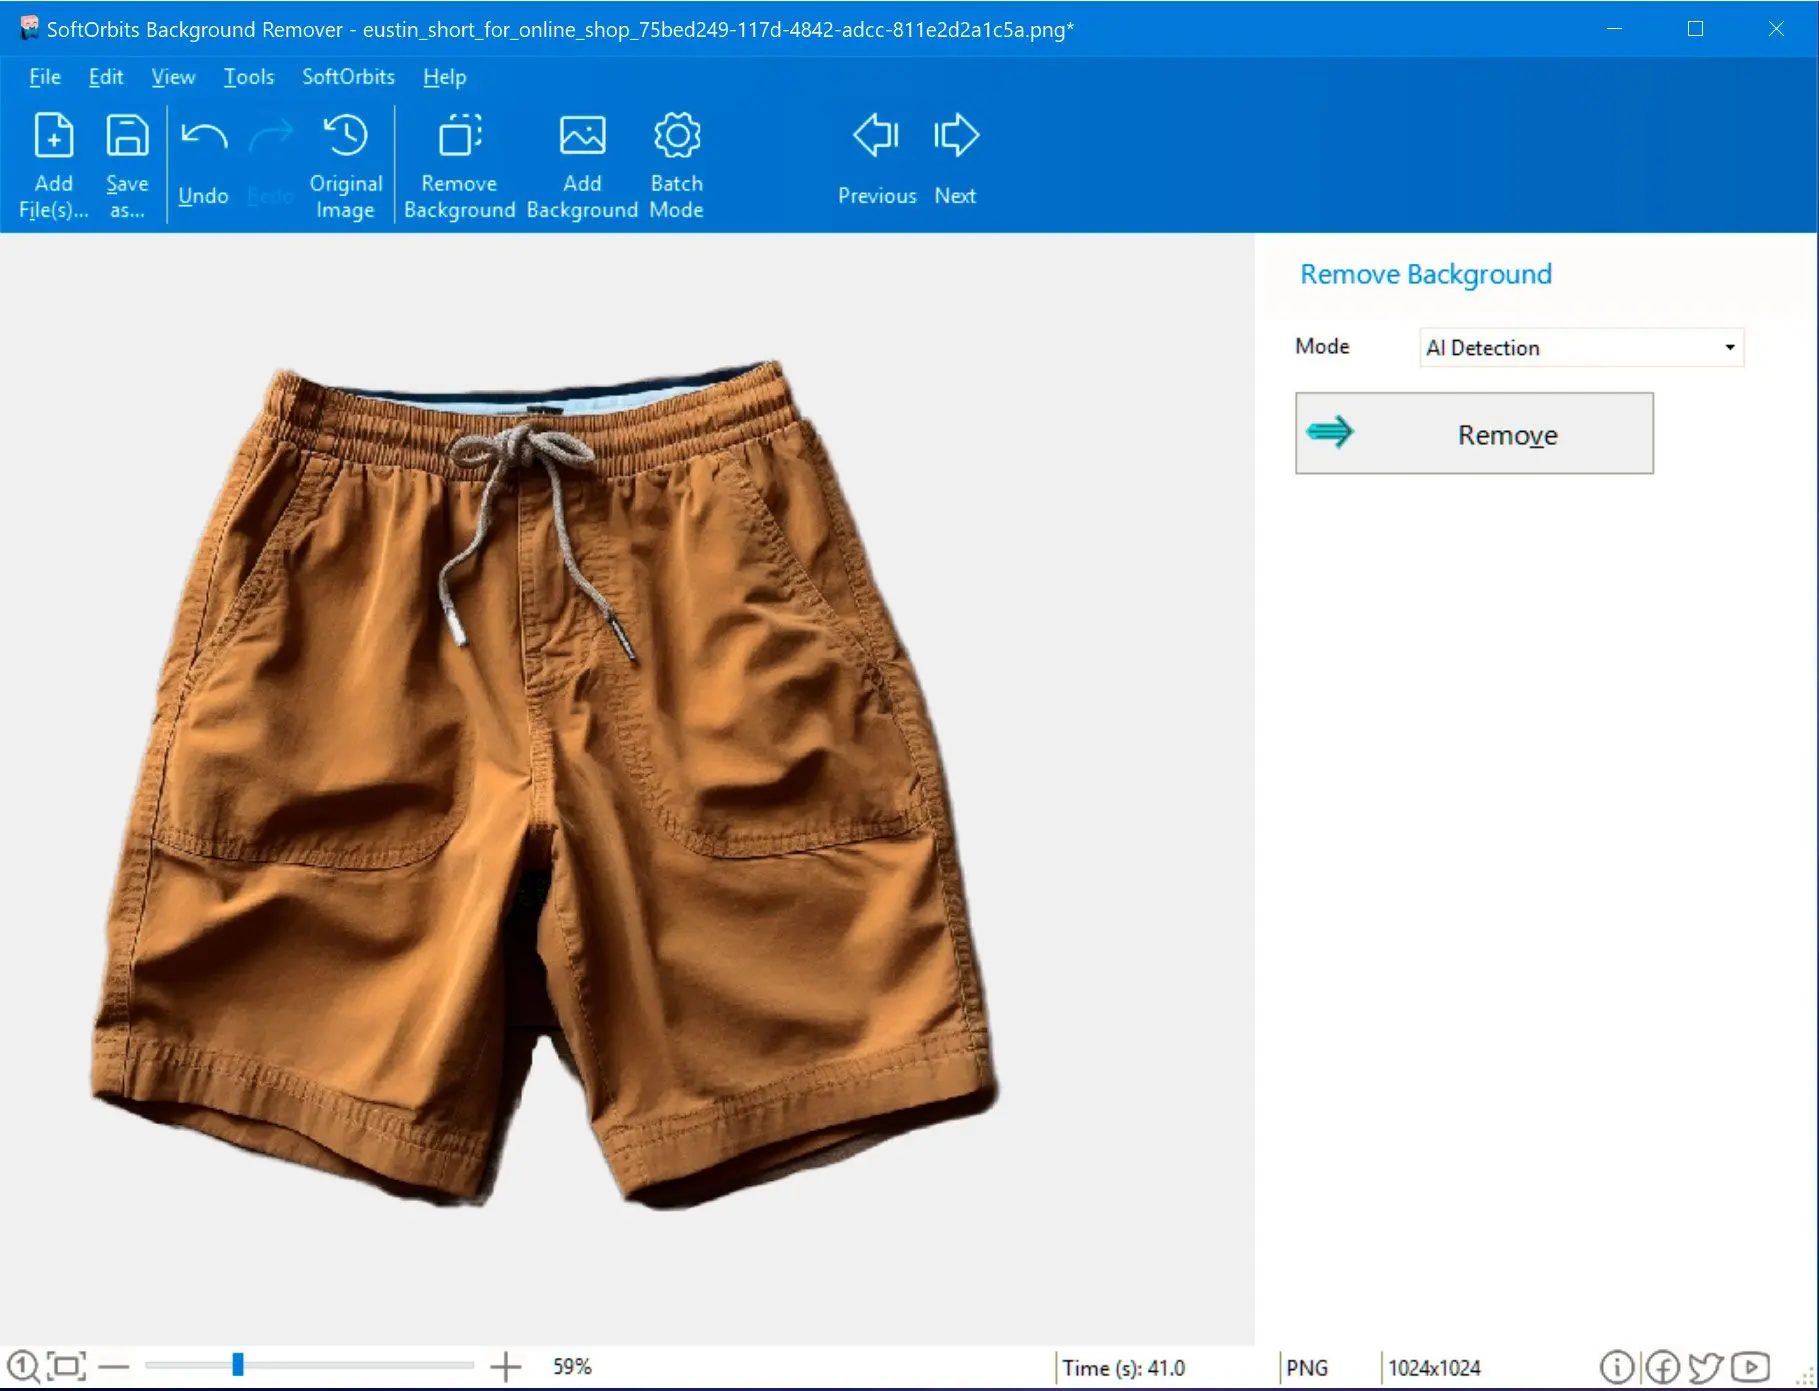